Using manim and manim-slide for beautiful presentations
Introduction
Making engaging conference presentations is a core part of research. For the recent Models of Consciousness 2025 Conference I tried using the wonderful manim software to create rich web-compatible animations as part of my presentation.
This post describes how to generate similar slides using these tools.
The Presentation
Outline of tools
To build the talk, I used a combination of three open-source tools and some bash scripting:
- manimCE : https://www.manim.community/
- this is the community edition of a python library originally developed by Grant Sanderson for his Youtube channel. Grant also generously provides the code for his videos (although he uses his own personal flavour of manim rather that the CE edition I used)
- manim-slides : https://manim-slides.eertmans.be/
- this is a python wrapper for manim that creates
Slidesfrom theScenesinmanim, and formats them as areveal.jspresentation.
- this is a python wrapper for manim that creates
- reveal.js: https://revealjs.com/
- this HTML presentation format does the work of presenting the slides in an HTML format
- audio-slideshow plugin for adding audio to the slides
- Multimodal plugin for adding modal dialogs to slides (used for the instructions on the first slide)
- a custom build script
- I wrote a bash script to call the
manim-slidescommand and include options and templates easily.
- I wrote a bash script to call the
all software used is open-source
Installing manim and manim-slides
Requirements (Devuan/Debian/Ubuntu)
sudo apt install build-essential python3-dev libcairo2-dev libpango1.0-dev
I used Python v3.13.9, but anything above v3.11 should work.
Make a container folder and create venv
cd manimslides
python3 -m venv .venv
source .venv/bin/activate
pip install -U "manim"
pip install -U "manim-slides[pyside6-full]"
manim-slides --version
Make presentation folder. I planned to re-use my scripts/templates and have a separate folder for each presentation. You could simplify this by just using a single folder if you prefer.
projectname="my_presentation"
mkdir $projectname
cd $projectname
Using the software
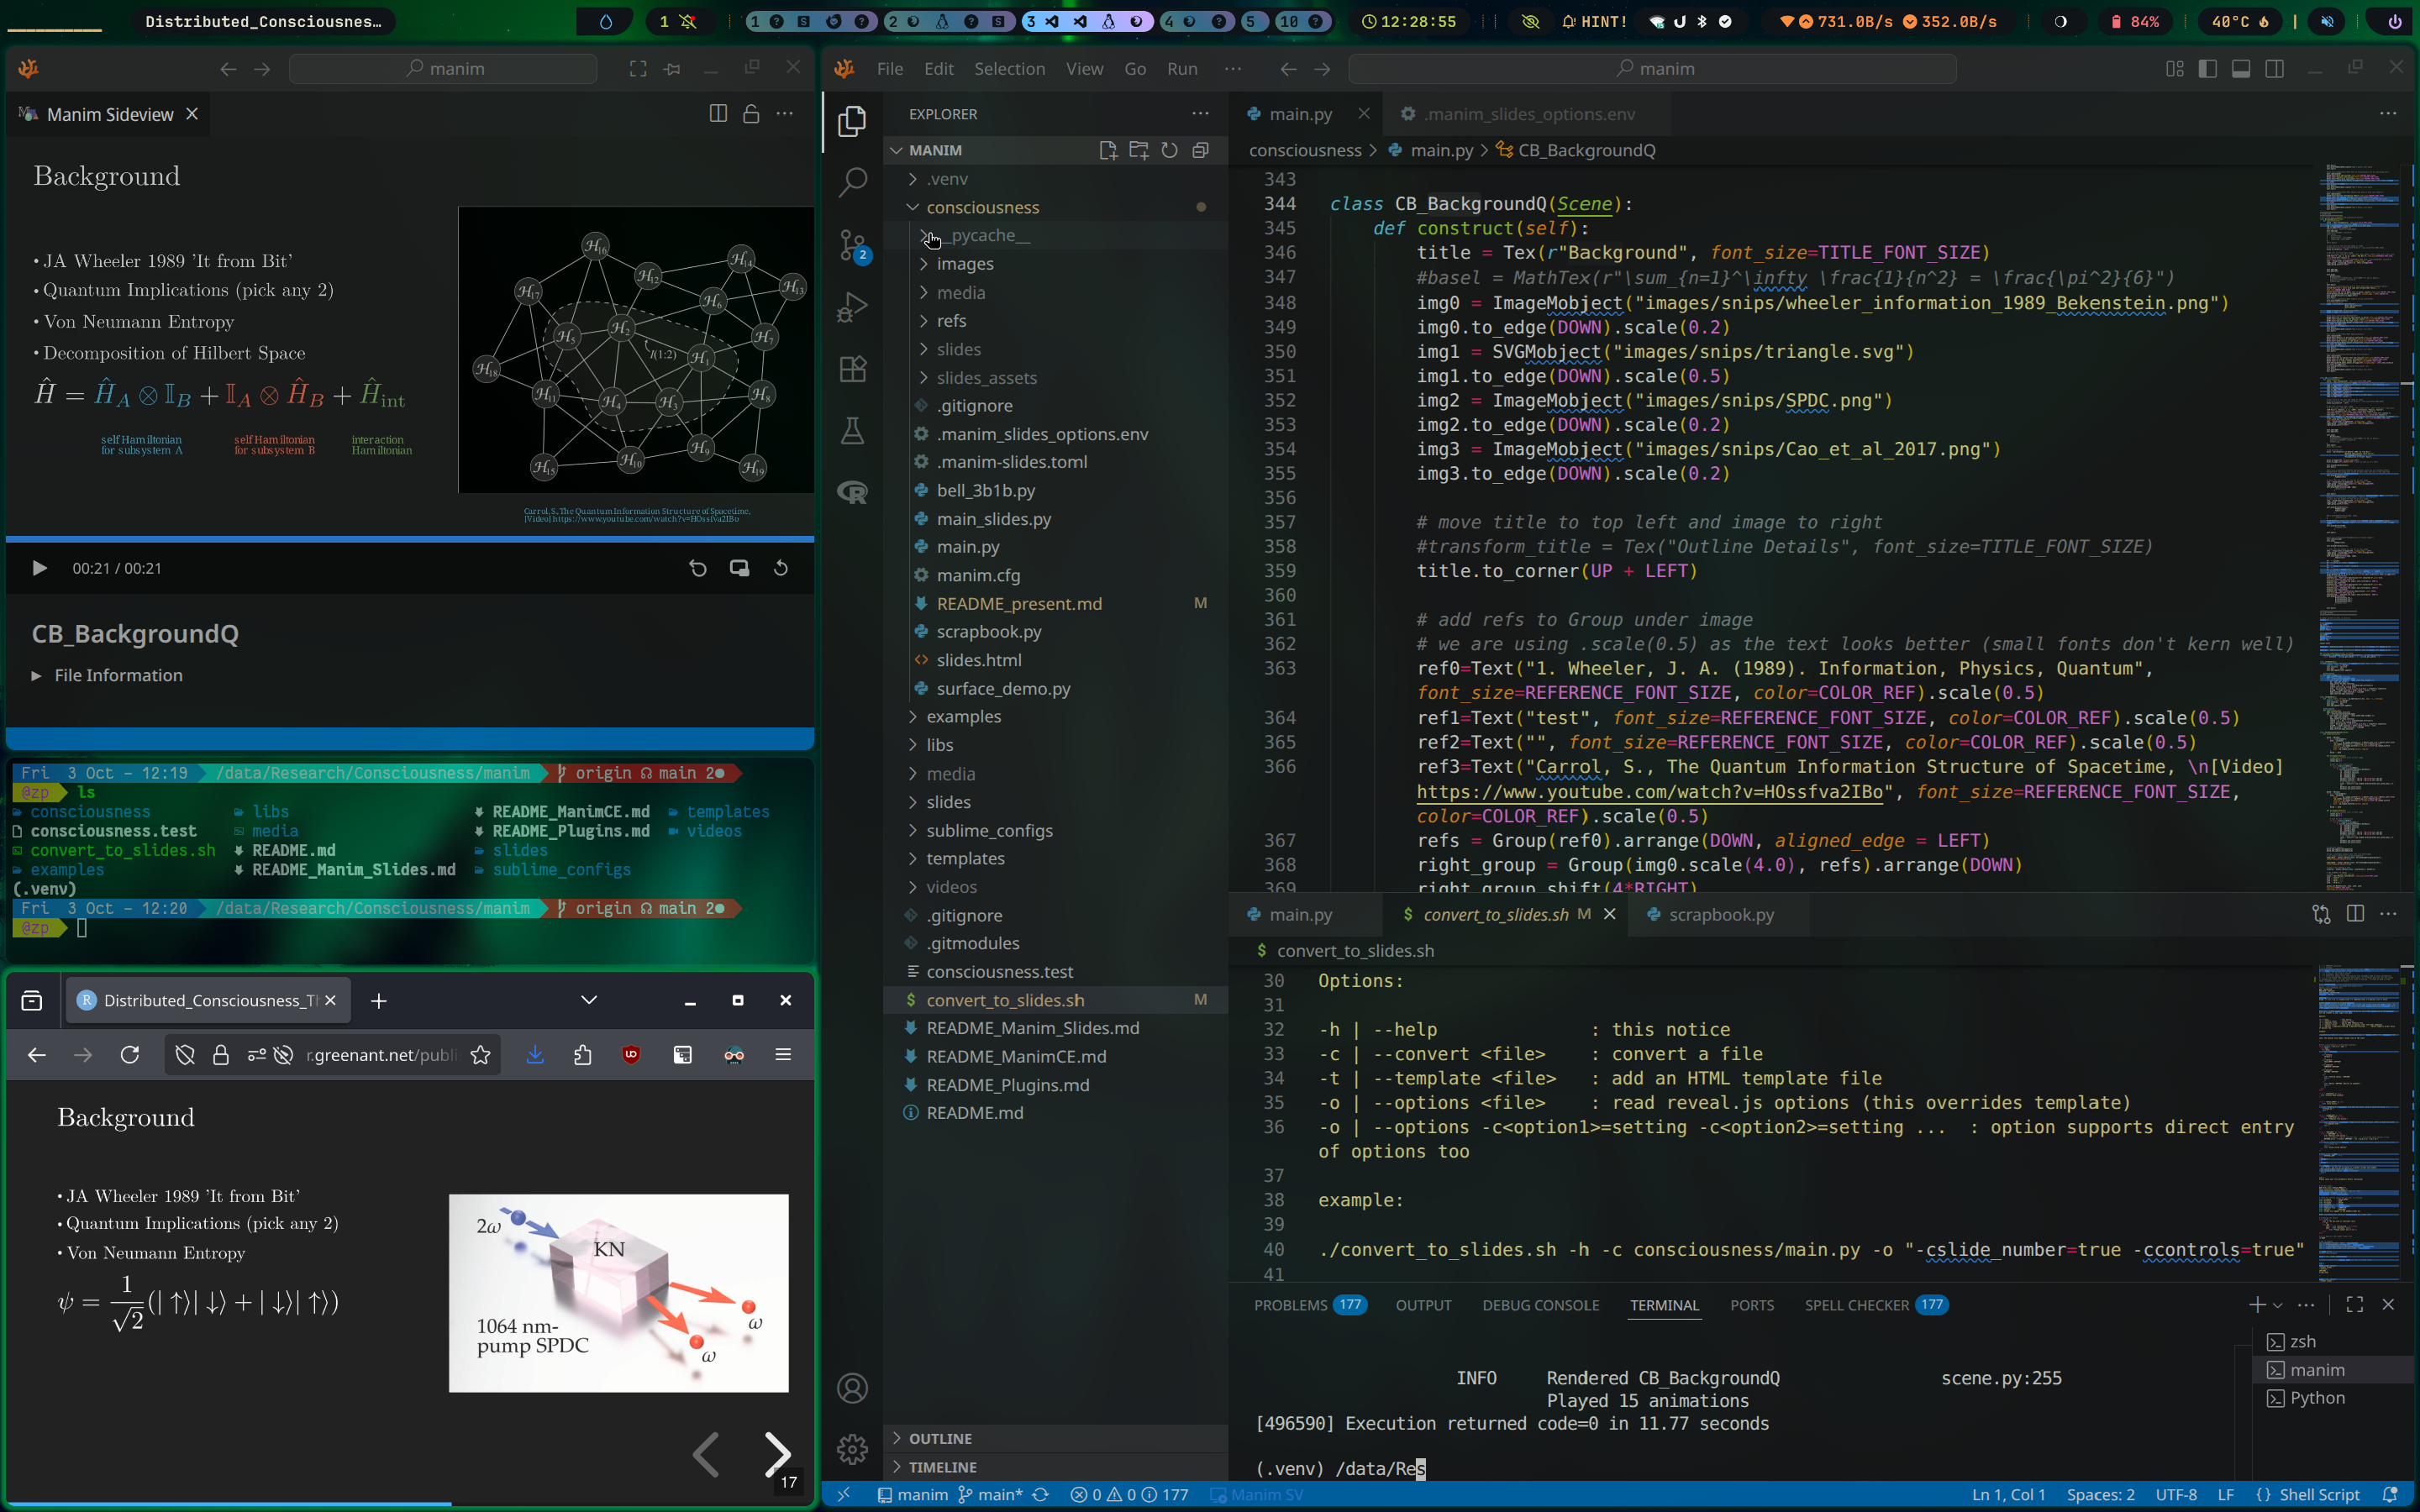
You can work with manim using any code editor. I usually use Sublime Text, but in this case I mostly used VSCodium. There is a useful manim preview plugin called Manim-Sideview. This makes previewing scenes a lot easier.
So then it’s down to writing scenes…
I would suggest starting with the documentation for:
- manimCE: https://docs.manim.community/en/stable/
- manim-slides: https://manim-slides.eertmans.be/latest/
You can also get an idea of how to use manim without installing any software by having a look at the tutorial jupyter notebook at https://try.manim.community/ .
There are some great examples there. It’s also worth searching for other examples online, for instance there are many listed at the Manim Examples Website.
It’s worth remembering that manim is under development, so you may need to adapt some functions to get old examples running. Also, scenes written for 3b1b version of manim have different function calls to the Community edition, and changes will be required. Nevertheless, one of the great things about manim is that the function names are logical and flow of scenes is well documented.
First scene
An simple example scene in manim:
import manim as mn
from manim import *

class CircleToSquare(Scene):
    def construct(self):
        blue_circle = Circle(color=BLUE, fill_opacity=0.5)
        green_square = Square(color=GREEN, fill_opacity=0.8)
        self.play(Create(blue_circle))
        self.wait()

        self.play(Transform(blue_circle, green_square))
        self.wait()
Walking through this Scene:
- We first load the manim libraries
- Then define the Scene with
class CircleToSquare(Scene):- note that there are other
Scenetypes, most notablyThreeDScenefor 3D rendering
- note that there are other
- two objects are defined,
blue_circleandgreen_square, note that these use very logical functionsCircle()andSquare()to create these objects. - then the circle is added to the scene with
self.play(Create(blue_circle)) - the
self-wait()command just pauses the video for a default of 1 second - then we see the real magic of
manim, in theself.play(Transform(blue_circle, green_square))function.Transform()smoothly transforms one object into another, and can work with any defined object.
Of course, Scenes can get much more involved. For instance, here is the code for one of my Scenes which involves a collision-physics animation, a MathTex formatted formula and highlighting of the parts of the formula.
note that the core routines for this were adapted from Uwe Zimmermann’s example, thanks Uwe!
from manim import * # use manim CE
rom functools import partial
from manim_slides import Slide, ThreeDSlide
from beanim import *
from colour import Color

# Create subclass for MovingCameraSlide
# https://manim-slides.eertmans.be/latest/reference/examples.html#subclass-custom-scenes
class MovingCameraSlide(Slide, MovingCameraScene):
    pass

"""
Variable Definitions
"""

TITLE_FONT_SIZE = 48
SUBTITLE_FONT_SIZE = 40
CONTENT_FONT_SIZE = 32
SOURCE_FONT_SIZE = 24
FORMULA_FONT_SIZE = 44
ANNOTATE_FONT_SIZE = 17
REFERENCE_FONT_SIZE = 20 # we .scale(0.5) this as letter spacing is broken for small fonts
# https://www.reddit.com/r/manim/comments/12fyvge/uneven_letter_spacing_in_text/
COLOR_REF=BLUE_C

"""
Custom Configs
"""

# Manim defaults

tex_template = TexTemplate() # note that TexTemplate works only in ManimCE
tex_template.add_to_preamble(
    r"""
\usepackage[T1]{fontenc}
\usepackage{lmodern}
"""
)


############################################
## MUTUAL INFORMATION SCENE
############################################

# with credit to https://gist.github.com/uwezi/68a733992ebc872ed00595c364544596

# number of dots to draw in each box
numdots=25

# for outerboxA
sq_sideA=4
Ashift_left=-4
Ashift_up=-1
AColor=PURPLE

# for outerboxB
sq_sideB=4
Bshift_left=4
Bshift_up=-1
BColor=TEAL

LColor=GREEN

outerboxA = Square(sq_sideA, stroke_color=AColor).move_to([Ashift_left,Ashift_up,0])

outerboxB = Square(sq_sideB, stroke_color=BColor).move_to([Bshift_left,Bshift_up,0])

def circles_intersect(circle1, circle2):
    distance = np.linalg.norm(circle1.get_center() - circle2.get_center())
    return distance < circle1.get_width() / 2 + circle2.get_width() / 2


class veloDotA(Dot):
    def __init__(self, velocity = np.ndarray([0,0,0]), mass = 1, **kwargs):
        super().__init__(**kwargs)
        self.velocity = velocity
        self.mass     = mass
        self.add_updater(self.updater)

    @staticmethod
    def updater(mobj,dt):
        mobj.shift(dt*mobj.velocity)
        ins = Intersection(outerboxA,mobj)
        if ((ins.width*ins.height) < (mobj.width*mobj.height)/2):
            mp = mobj.get_center()
            mobj.shift(-dt*mobj.velocity)
            vsdiff = [v - mp for v in outerboxA.get_vertices()]
            vsdiff.sort(key=np.linalg.norm)
            norm = np.array([[0,-1,0],[1,0,0],[0,0,0]]) @ (vsdiff[1]-vsdiff[0])
            projNV = ((mobj.velocity @ norm)/(norm @ norm)) * norm
            mobj.velocity = mobj.velocity - 2*projNV
            mobj.shift(dt*mobj.velocity)

class veloDotB(Dot):
    def __init__(self, velocity = np.ndarray([0,0,0]), mass = 1, **kwargs):
        super().__init__(**kwargs)
        self.velocity = velocity
        self.mass     = mass
        self.add_updater(self.updater)

    @staticmethod
    def updater(mobj,dt):
        mobj.shift(dt*mobj.velocity)
        ins = Intersection(outerboxB,mobj)
        if ((ins.width*ins.height) < (mobj.width*mobj.height)/2):
            mp = mobj.get_center()
            mobj.shift(-dt*mobj.velocity)
            vsdiff = [v - mp for v in outerboxB.get_vertices()]
            vsdiff.sort(key=np.linalg.norm)
            norm = np.array([[0,-1,0],[1,0,0],[0,0,0]]) @ (vsdiff[1]-vsdiff[0])
            projNV = ((mobj.velocity @ norm)/(norm @ norm)) * norm
            mobj.velocity = mobj.velocity - 2*projNV
            mobj.shift(dt*mobj.velocity)

class CA_MutualInformation(Scene):
    def construct(self):

        dotsA = VGroup()
        for i in range(numdots):
            dotA = veloDotA(
                point    = np.random.uniform(low=-1+Ashift_left,high=1+Ashift_left)*RIGHT+np.random.uniform(low=-1+Ashift_up,high=1+Ashift_up)*UP,
                velocity = np.random.uniform(low=-3,high=3)*RIGHT+np.random.uniform(low=-3,high=3)*UP,
                mass = np.random.uniform(low=0.5, high=2)
            )
            dotsA += dotA

        def dotsUpdaterA(mobj):
            # constrain colours (0,1) is full range
            colhsv_min=0.5
            colhsv_max=0.7

            # test for dot interactions
            for i in range(len(mobj)):
                for j in range(i+1,len(mobj)):
                    if circles_intersect(dotsA[i],dotsA[j]):
                        v1 = dotsA[i].velocity
                        v2 = dotsA[j].velocity
                        m1 = dotsA[i].mass
                        m2 = dotsA[j].mass
                        dotsA[i].velocity = (m1*v1 + m2*(2*v2-v1))/(m1+m2)
                        dotsA[j].velocity = (m2*v2 + m1*(2*v1-v2))/(m1+m2)
                        # set random colour
                        color = Color(hsl=(np.random.uniform(colhsv_min,colhsv_max),1,0.5))
                        dotsA[i].set_color(color)
                        dotsA[j].set_color(color)

        dotsB = VGroup()
        for i in range(numdots):
            dotB = veloDotB(
                point    = np.random.uniform(low=-1+Bshift_left,high=1+Bshift_left)*RIGHT+np.random.uniform(low=-1+Bshift_up,high=1+Bshift_up)*UP,
                velocity = np.random.uniform(low=-3,high=3)*RIGHT+np.random.uniform(low=-3,high=3)*UP,
                mass = np.random.uniform(low=0.5, high=2)
            )
            dotsB += dotB

        def dotsUpdaterB(mobj):
            # constrain colours (0,1) is full range
            colhsv_min=0.5
            colhsv_max=0.7

            # test for dot interactions
            for i in range(len(mobj)):
                for j in range(i+1,len(mobj)):
                    if circles_intersect(dotsB[i],dotsB[j]):
                        v1 = dotsB[i].velocity
                        v2 = dotsB[j].velocity
                        m1 = dotsB[i].mass
                        m2 = dotsB[j].mass
                        dotsB[i].velocity = (m1*v1 + m2*(2*v2-v1))/(m1+m2)
                        dotsB[j].velocity = (m2*v2 + m1*(2*v1-v2))/(m1+m2)
                        # set random colour
                        color = Color(hsl=(np.random.uniform(colhsv_min,colhsv_max),1,0.5))
                        dotsB[i].set_color(color)
                        dotsB[j].set_color(color)


        # construct updaters
        dotsA.add_updater(dotsUpdaterA)
        dotsB.add_updater(dotsUpdaterB)

        # draw a rectangle around a dot from list dotA[index]
        # see https://manimclass.com/manim-updaters/
        highlightA = always_redraw(lambda: SurroundingRectangle(dotsA[1] , corner_radius=0.15,buff=0.3))

        highlightB = always_redraw(lambda: SurroundingRectangle(dotsB[1] , corner_radius=0.15,buff=0.3))

        # draw a line between 2 dots
        linkline = always_redraw(lambda: Line(dotsA[1], dotsB[1]))

        # ADD ELEMENTS TO CANVAS
        # using `\,` to add some spacing
        title = Text("Mutual Information", font_size=TITLE_FONT_SIZE)
        inf1 = r"I(X;Y) = \,"
        inf2 = r"H(X) + \,"
        inf3 = r"H(Y) - \,"
        inf4 = r"H(X,Y)\,"

        mutual_inf=MathTex(inf1, inf2, inf3, inf4,
        font_size=FORMULA_FONT_SIZE,
        substrings_to_isolate=["X","Y"])

        mutual_inf.set_color_by_tex("X", AColor)
        mutual_inf.set_color_by_tex("Y", BColor)

        VGroup(title, mutual_inf).arrange(DOWN)
        #img.shift(2*RIGHT).scale(0.5)
        self.play(
            Write(title.to_edge(UP)),
            FadeIn(mutual_inf.next_to(title, DOWN*2)),
        )
        self.wait()

        # labels for formula
        framebox1 = SurroundingRectangle(mutual_inf[0:4], buff = .25)
        annotate_fb1 = Text("mutual information", font_size=ANNOTATE_FONT_SIZE)
        annotate_fb1_ = annotate_fb1.copy().next_to(mutual_inf[0:4], DOWN*2)
        framebox2 = SurroundingRectangle(mutual_inf[5:7], buff = .25)
        annotate_fb2 = Text("entropy of X", font_size=ANNOTATE_FONT_SIZE)
        annotate_fb2_ = annotate_fb2.copy().next_to(mutual_inf[5:7], DOWN*2)
        framebox3 = SurroundingRectangle(mutual_inf[8:10], buff = .25)
        annotate_fb3 = Text("entropy of Y", font_size=ANNOTATE_FONT_SIZE)
        annotate_fb3_ = annotate_fb3.copy().next_to(mutual_inf[8:10], DOWN*2)
        framebox4 = SurroundingRectangle(mutual_inf[11:15], buff = .25)
        annotate_fb4 = Text("joint entropy", font_size=ANNOTATE_FONT_SIZE)
        annotate_fb4_ = annotate_fb4.copy().next_to(mutual_inf[11:15], DOWN*2)

        # draw box A and wait
        #self.next_slide(notes="system X")

        boxA_label=MathTex(r"X")
        self.add(dotsA, outerboxA)
        self.add(boxA_label.next_to(outerboxA,RIGHT))
        self.wait(5)

        # add formula annotation
        #self.play(Create(framebox1))
        self.play(Write(annotate_fb1_))

        self.play(Create(framebox2))
        self.play(Write(annotate_fb2_))

        # add second box
        #self.next_slide(notes="System Y")
        boxB_label=MathTex(r"Y")
        self.add(dotsB, outerboxB)
        self.add(boxB_label.next_to(outerboxB,LEFT))
        self.wait(5)

        # annotate
        self.play(Create(framebox3))
        self.play(Write(annotate_fb3_))

        # add highlight
        #self.next_slide(notes="particular objects")

        self.add(highlightA, highlightB)
        self.wait(5)

        # add linkline
        #self.next_slide(notes="Minus joint entropy")

        self.add(linkline)

        #annotate
        self.play(Create(framebox4))
        self.play(Write(annotate_fb4_))

        self.wait(10)
This example uses some helper functions, updaters and also the very helpful always_redraw() function which redraws the dot positions at every update.
There are also some extra definitions before the scene, for font-sizes, colours and default text.
You’ll also note some commented out lines with self.next_slide() functions. These are specific lines that call functions from the manim-slides library.
#self.next_slide(notes="particular objects")
In this case, this slide-specific command, tells manim-slides to create a new slide at this point (effectively segmenting the Scene) and adds a slide note, which is visible in the slide presenter view.
These lines are commented out as they are not compatible with the preview functions in Manim-Sideview. So they are added here as comments and uncommented by the build script when we’re ready to create the slides (see [#Appendix]).
Building the presentation
Once the Scenes are built, we need to convert main.py into a slide presentation. I built a custom script to do this which does the following:
- takes in options and template file settings
- replaces
Scene()withSlide()andThreeDScene()withThreeDSlide() - uncomments the
#self.next_slide()lines - calls the
manim-slides convertcommand
This works well to render and compose the Slides into a reveal.js presentation. Then this can be previewed locally and uploaded to a website.
A couple of extra tweaks
I wanted to add audio to my presentation, which can be done using the audio-slideshow plugin. Adding .mp4 audio files is as simple as installing the plugin and then adding files to an audio folder. These files are then played automatically at the correct slide, by naming them by the slide index, for instance 1.0.mp4.
To get the current slide index (starting at 0), you can enter a web browser console and type:
- to get horizontal slide index:
Reveal.getIndices().h - to get vertical slide index:
Reveal.getIndices().v
I changed the slideNumber setting in the reveal.js template to show the slide index in the bottom right (just horizontal, as I didn’t use vertical slides in this presentation)
        slideNumber: function() {
      	// Ignore numbering of vertical slides
          return [ Reveal.getIndices().h ];
        },
Manim-slides allows configuring a template, so you can make customisations to your slide formatting. In my case, I added some plugins, set the slideNumber function and also added a modal dialog at the start of the presentation to provide some navigation instructions.
Experience using manim and manim-slides
It would be fair to say that learning manim had a fairly steep learning curve. It took me about a week to get familiar with building slides and to create the wrapper scripts. However, it does get easier over time and has a number of advantages.
The main benefits are the ability to include very clear and appealing animations, transitions and technical formulae in the presentations. It would be difficult to produce these types of elements in different software, and the wor of integrating them into a presentation would not look as good as the graphics that manim produces.
The presentation also has a good amount of re-usabiliy and over time, you can build up your own standard Scenes to make new content creation easier.
The main difficulties are that scenes/slides can take a while to build (for some of my scenes with physical simulations, they take 3-4 min to build; while simple text slides take 10-15s to build), so it takes a while to see changes if you’re not sure what a change will do. There are potentially some ways of speeding this up, for example Grant Sanderson’s workflow allows building of partial scenes but that only works with the 3b1b version of manim (so far). So you’ll need to be comfortable working with a programatic workflow that involves some generation time for complex scenes. Manim-Sideview makes this less painful!
Summary
I hope that this outline of using manim and manim-slides is a useful primer. The walkthrough of some tips and tricks may insipre your own use of manim! As always with open-source tools, please contribute any improvements and experiement with your own workflows, it’s how these tools get better over time!
Would I use this workflow again? Yes, I think it has good re-usability, outputs slides that can be easily shared online and it produces very good looking and engaging animations.
Appendix
script: convert_to_slides.sh
#!/bin/sh

# This script is very much in beta, absolutely no warranty or guarantee of function is provided!
# It is likely to turn your cat into super-intelligent being, causing danger to you, your posessions and the larger fate of the universe - use with caution!

# Todo
# - [x] TEMPLATE selection
# - [ ] cleanup
# - [ ] allow `-h` for help on its own
# - [ ] in the second step (composing the slides), it currently does not list the slides in alphabetical order, or order they are found in main.py.  It would be good to order these (alphabetical would be fine!)

#some colourisation
#https://linuxhandbook.com/change-echo-output-color/
#https://ansi.gabebanks.net/
RED='\033[0;31m'
RED_BACK='\033[41m'
CODE_COLOUR='\033[37;44m'
NOCOLOUR='\033[0m'

HELPTEXT="
Usage: $0 [-h] [-v] [-c output_file] [-t template_file] [-o options list or file]

${CODE_COLOUR}convert_to_slides${NOCOLOUR}
This command converts a standard manim (CE) script into slides using the manim-slides.  It runs some substitutions, for instance converting ${CODE_COLOUR}name(Scene)${NOCOLOUR} to ${CODE_COLOUR}name(Slide)${NOCOLOUR}.

Note that a ${CODE_COLOUR}tmp${NOCOLOUR} directory and ${CODE_COLOUR}tmp/$FILE${NOCOLOUR} will be created in your input file path.

Options:

-h | --help              : this notice
-c | --convert <file>    : convert a file
-t | --template <file>   : add an HTML template file
-o | --options <file>    : read reveal.js options (this overrides template)
-o | --options -c<option1>=setting -c<option2>=setting ...  : option supports direct entry of options too

example:

./convert_to_slides.sh -h -c consciousness/main.py -o "-cslide_number=true -ccontrols=true"

note: the options file needs a blank line at the start.

"

#https://zerotomastery.io/blog/bash-getopts/
while getopts ":hvc:t:o:" opt; do
  case $opt in
    h|--help)
      echo "$HELPTEXT"
      ;;
    v|--verbose)
      verbose=1
      ;;
    c|--convert)
      FILE_INPUT="$OPTARG"
      ;;
    t|--template)
      TEMPLATE="$OPTARG"
      ;;
    o|--options)
      OPTIONS="$OPTARG"
      ;;
    \?)
      echo "Invalid option: -$OPTARG"
      exit 1
      ;;
    :)
      echo "Option -$OPTARG requires an argument."
      exit 1
      ;;
  esac
done

if [ -n "$verbose" ]; then
  echo "Verbose mode enabled."
fi


if [ -f "$FILE_INPUT" ]; then
    echo "File exists."
else
    echo "${RED}Error:${NOCOLOUR} File does not exist, enter a valid file with '-c filename.py'."
    exit 1
fi

if [ -n "$TEMPLATE" ]; then
  if [ -f "$TEMPLATE" ]; then
      echo "Template file exists."
  else
      echo "${RED}Error:${NOCOLOUR} Template file does not exist, enter a valid file with '-t template.html'."
      exit 1
  fi
fi

if [ -n "$OPTIONS" ]; then
  if [ -f "$OPTIONS" ]; then
      echo "Options file exists."
      # strip comments, replace newlines with ` -c` to provide valid options string
      OPTIONS=$(sed '/^\s*#/d' $OPTIONS | sed '{:q;N;s/\n/ -c/g;t q}')
  else
      #echo "${RED}Error:${NOCOLOUR} Options file does not exist, enter a valid file with '-o filename.env'."
      #exit 1
      echo "using inline options"
  fi
fi

# check we're in venv
if [ "$VIRTUAL_ENV" != "" ]
then
  INVENV=1
else
  INVENV=0
fi
if [ $INVENV -ne 1 ]; then
  echo "error: you are not currently in a python virtual environment
  You should always start the venv first.
  For instance with 'source .venv/bin/activate'"
  exit 1
fi

echo "
Please check your file parameters before continuing:

"

# use our files
DIR="$(dirname "${FILE_INPUT}")"
FILE="$(basename "${FILE_INPUT}")"
BNAME="$(basename "${FILE_INPUT}" | cut -d. -f1)"
SLIDEMODFILE="${BNAME}_slides.py"
SLIDEMODPATH="${DIR}/$SLIDEMODFILE"

# check for correct inputs and ask user to continue
echo "filepath       : $FILE_INPUT"
echo "directory      : $DIR"
echo "filename       : $FILE"
echo "basename       : $BNAME"
echo "output file    : $SLIDEMODPATH"
echo "template file  : $TEMPLATE"
echo "options        : $OPTIONS"
echo "slides will appear in the ${DIR}/slides dir

NOTE: continuing will overwrite $SLIDEMODPATH and slides.html"

# prompting for choice
while true; do
    read -p "Do you wish to continue? (y|n)
    > " yn
    case $yn in
        [Yy]* ) echo "processing..."; break;;
        [Nn]* ) echo "exiting"; exit;;
        * ) echo "Please answer yes or no.";;
    esac
done

# go to base dir and create slides file
cd $DIR

# sed to replace
sed 's/(Scene)/(Slide)/' $FILE > $SLIDEMODFILE
sed -i 's/(ThreeDScene)/(ThreeDSlide)/' $SLIDEMODFILE
sed -i 's/(MovingCameraScene)/(MovingCameraSlide)/' $SLIDEMODFILE
sed -i 's/#self.next_slide(/self.next_slide(/' $SLIDEMODFILE

## manim-slides
#SCENES="BasicExample"

manim-slides render $SLIDEMODFILE

# convert command then utilises anims and json in slides folder

# check if string length $TEMPLATE is nonzero
if [ -n "$TEMPLATE" ]; then

echo "
manim-slides convert \
--use-template $TEMPLATE \
--folder slides \
--offline \
$OPTIONS \
slides.html

"

manim-slides convert \
--use-template $TEMPLATE \
--folder slides \
--offline \
$OPTIONS \
slides.html

else

echo "
manim-slides convert \
--folder slides \
--offline \
$OPTIONS \
slides.html

"

manim-slides convert \
--folder slides \
--offline \
$OPTIONS \
slides.html
fi


#manim-slides convert --use-template templates/mytheme.html BasicExample slides/slides.html --offline --open
## cleanup

echo
echo "Done

You can open your slides.html and press space to start"
echo